Showing posts with label baking. Show all posts

Friday, November 20, 2020

Oh, Those Baguettes!


Oh, Those Baguettes!


France is known for wine and cheese, but when sipping your wine in a small street-side café and your attentive waiter silently places a small basket of freshly sliced baguette on your table, wine takes a momentary holiday.


Baguettes are the quintessential French bread. Yes, even more than the croissant. Baguettes are ubiquitous. Never changing.  And, oh how they bring back the memories, from many sparkling days in Provence to the side streets of Paris’ left bank to the fabulous covered market in Metz.


Each morning, in nearly every town, you’ll see small bread trucks, filled to the brim, with drivers in short brimmed caps and blue, workers smocks, unloading fresh armfuls at restaurants and cafés large and small, celebrated and humble.


But did you know in France there are several types of baguettes?  A larger, thicker baguette style loaf is called a flûte or flute, but it sounds more like flit when the French say it.  Then there’s a shorter, thicker one, called a bâtard or bastard.  And naturally there’s a skinny style called aficelle or string.


Where did the baguette originate?  No one seems to know, but lots of stories persist. Some say Napoleon insisted bakers invent a loaf that was more easily carried by soldiers.


As I suspect, even my drunk and unruly readers realize the baguette is not only prevalent in France and French speaking regions such as Belgium, and Switzerland, but around the world.  In Vietnam (once a French colony) they add rice flour. In the U.S. you can find multigrain and sourdough perversions!  “Mon ami, I spit upon this ignoble bowing before the world of fashion.”  


In today’s commercial world baguettes have become well known all over. You don’t have to be French or speak the language to enjoy them, or to make them. 


But, until now, to get the best baguettes you have always had to travel to France. No longer!  I will show you the true path that you can follow in your own kitchen, be it ever so humble.  Vive la baguette!


Faisons un Baguette ou Deux!

(Let’s Make a Baguette or Two!)


Few choose to believe, but I don’t make any recipes that are very difficult.  And this recipe is no exception to my code of simplicity.


Four Ingedients


3 cups unbleached all purpose flour, or use bread flour

1 teaspoon salt

¼ teaspoon yeast

1 ½ cups very warm water


I use my food processor.  Put in the flour, salt, and yeast.  Pulse to mix the dry ingredients.  Now add the very warm water.  Turn on the processor and mix until a dough forms.


Put the dough on a well floured surface and cut into two equal parts.  Form into two baguette shapes and then flatten them out.


Fold the two long halves into the middle and shape.  Spray a baking sheet with oil, add both baguettes, and cover with a dishtowel.  Allow to rise for a few hours.


Note:  I put the covered baguettes in my oven and turn on the oven light.


When the dough has risen, you may find that it has spread.  Just tuck in the sides to reform and put some slashes across the top.  Heat the oven to 450ºF or about 232ºC


When the oven is hot, put a pan of hot water on the bottom rack.  Put the baguettes on the top rack and check after 20 minutes, add more time if necessary.  


Note:  The water helps to crisp the crust.


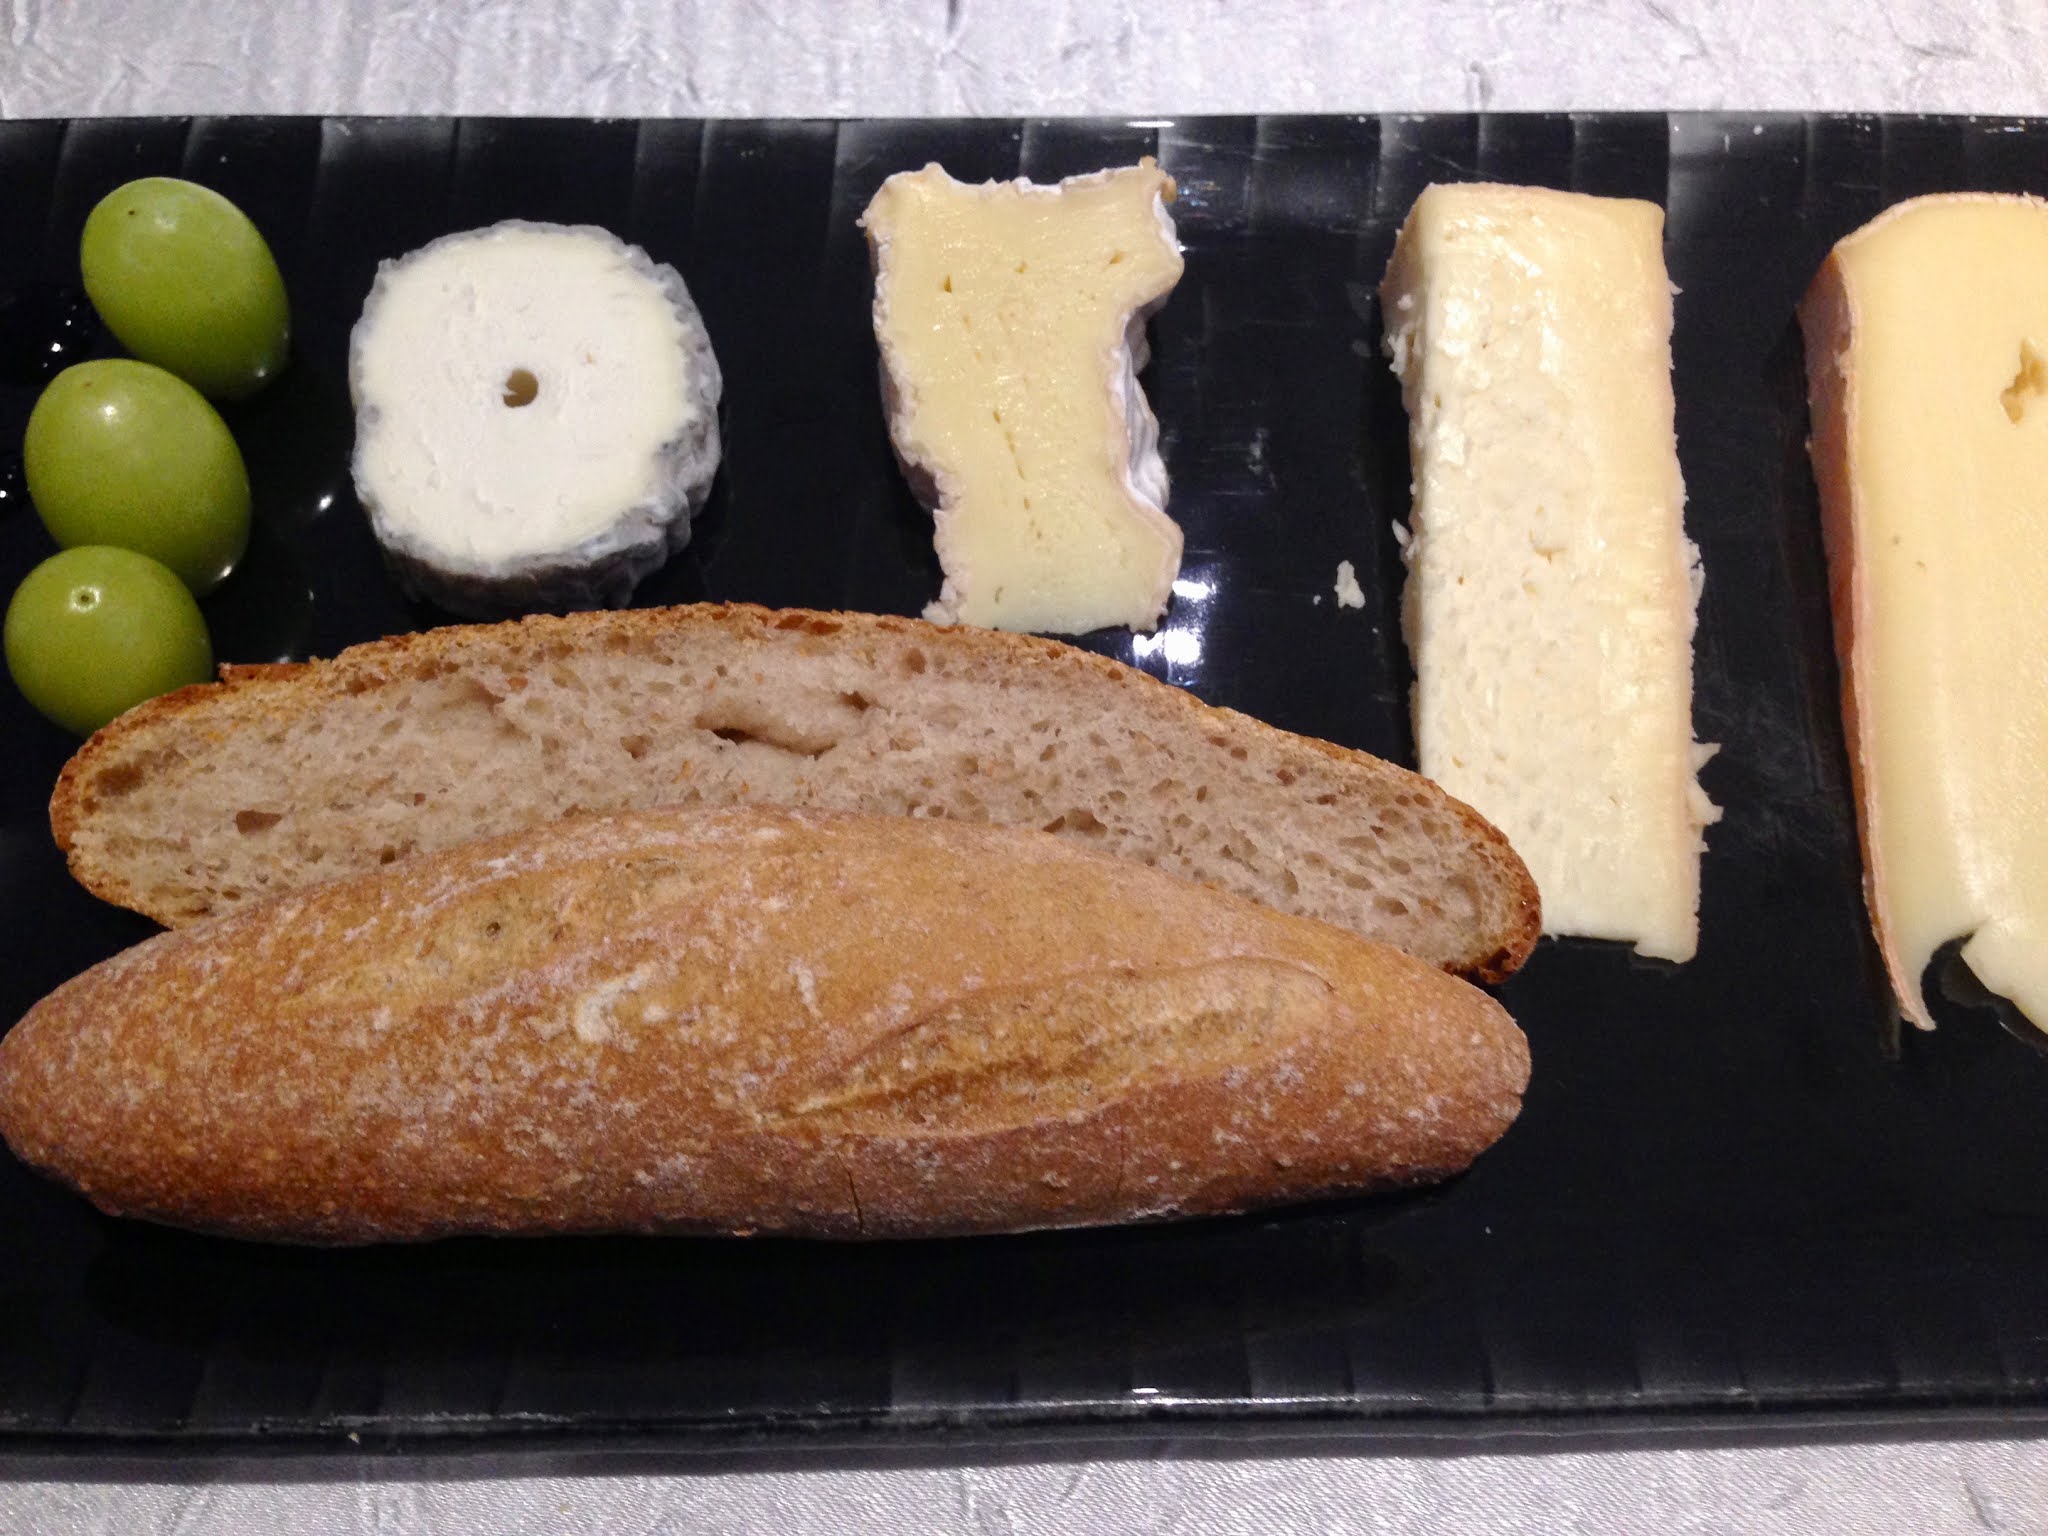
Now, assuming you have already opened the second bottle of wine, it’s time to bring out the cheese tray and few grapes.  But let the baguette loaves rest for 15 minutes before slicing.  The French don’t butter their slices, but I do!  Á votre Santé!  Cheers!


Tuesday, November 8, 2016

Make This Easy Coconut Cake, NOW!


A lot of ignorance out there about making cakes.  I hear whiners bleating, “It’s too hard!”  Or, “I don’t have a box of cake mix!”  Balderdash!  I’m going to still your anxieties and bolster your confidence.   Stick with me!  You’re about to experience raging success in the kitchen and bask in the warm glow of praise from friends and even family.

I dearly hope, for the sake of your demanding kin and freeloading pals, you are not one of the fearful whiners.  But, if you are, don’t punish yourself.  Get over it!  Uncage your star power!  And just to show you how confident I am, while you read this splendid article, I’m going to sit back and sip a snifter of brandy.  If I doze off, please wake me to the sound of ear-splitting applause.

The longest time you’ll spend making this cake is the hour or so it sits in the oven, which gives you plenty of time to down that bottle of wine, do your mind and body bending yoga, watch videos of cute puppies, view the artwork of precocious children, and babble with your so-called friends on the social media of your choice.

You see, cooking is not simply about eating, but about time management.  While you create lusciousness, you’ll have time for getting in shape and becoming a wine connoseur, konnisewer, conaseur connoisseur.   Other things you can do while the cake bakes: drag your $%@&^* children off the *^%@& video console and show them how to crochet, teach your spouse about algorithms, perform an appendectomy on your pet, or do some nude sunbathing in your neighbor’s backyard.

Meanwhile, let’s do some bakin’!

Easy Coconut Cake

Box of cake mix ---HELL NO! Not in YOUR kitchen!

First:  Heat the oven to 350ºF (180ºC)
Grease and lightly flour an 8 x13 inch high sided glass baking dish

2 ½ Cups of flour
2 Tablespoons baking powder
½ teaspoon salt
1 ¼ Cup sugar
1 Stick, plus 4 tablespoons butter
1 Tablespoon of vanilla extract
¾  Cup Milk
1 Tablespoon Rum
1 Tablespoon roughly grated lemon rind (about one lemon’s worth) Hint: if you use the finest grate, it’s going to take much longer and not worth the effort.

8 egg yolks
1 Can Cream of Coconut (the thick, sweetened kind), 14 ounces (see photo)
 2 Cups unsweetened coconut flakes (if you use sweetened flakes, reduce the sugar to 1 Cup)


Put the first four ingredients and ONE CUP of coconut flakes in a large mixing bowl and stir.  Add the butter in chunks and the vanilla extract.  Use an electric mixer (I use a hand held) to mix and fully blend.  Add the rum and grated lemon rind. Now add the egg yolks one at a time, beating at full speed. Add the milk and beat until everything is well blended.


Pour the batter into the greased and floured pan and bake until brown on top and a knife comes out clean when you plunge it into the middle of the cake.

I set my timer on 30 minutes, check the cake and add another 20-30 minutes.  Your time may differ, based on altitude and your oven, but the tests of ‘brown’ and ‘clean knife’ do the trick every time.


While you wait for the cake to finish baking, melt just a bit or two of butter in a medium hot frying pan.  Add the second cup of grated coconut and toast it.  Warning: Stir constantly and don’t take your eyes off the coconut for a second!  When the coconut is properly toasted, dump it onto a plate to cool.

When the cake comes out, put the pan on a counter top and go back to yoga until it’s cool.  Using a fork, chopstick, or other piercing tool, make deep holes in the cake. Lots of them!

You’ll see why in the next step.


Open the can of cream of coconut, put it in a bowl and mix until it’s syrupy.  Slowly pour it over the cake allowing it to soak in.  If you’re getting too much runoff, make more holes or decorative slices in the cake. The idea is to have a moist cake.


 Sprinkle the toasted coconut over the cake.  There it is!  You’re the cook, the champion of the kitchen!  How ‘bout another bottle of wine to celebrate???


A vital question:  What do you do with the eight leftover egg whites?  For me the choice was simple.  I made coconut macaroons.

Sunday, September 22, 2013

Small Potatoes That Ain't


"Small Potatoes."  How often have you heard that?  You're standing naked in the kitchen and suddenly your wife blurts out,"Small potatoes." Fortunately, she's not staring at you.  She's looking in the pantry.

Relief and anxiety.  Anxiety turns to erotic, small potato possibilities.

“I have a luncheon today and need to bring something.  What can ‘we’ make with small potatoes?”

It’s the royal ‘we.’  Hot stove and hotter grease await you and you alone.  Erotic images melt like cotton candy in a rainstorm. Thoughts morph to the vision of hot grease on a man’s jolly jingles.  Apron!  No, wait!  Socks, shoes, trousers, shirt, then an apron.  Oven mitts. A morning of ‘safe cooking.’

Remember those days when she would have forgotten about those potatoes?  Remember those days when you had no idea whose kitchen you were in?

Small Potatoes That Ain’t


The necessities:

4.5 pounds (2.2 kilos) of small potatoes

An inch depth of cooking oil in a medium sized saucepan

2.5 Cups homemade bread crumbs (see very helpful suggestion below)

1 stick butter

Salt and pepper to taste

2 heaping Tablespoons chopped fresh cilantro

2 heaping Tablespoons of freshly grated Parmesan cheese.


Doin’ the small potato shuffle:

Heat the oven to 400ºF or 200ºC. 

Put the oil in the saucepan and heat it on the stovetop to 350ºF or 175ºC.

Wash the potatoes and partially peel them.  I leave stripes of peeling on the potatoes.


Dry the potatoes and put the first batch in the hot grease.  Continue until all potatoes are ready for the oven.  The point of the fry is to get a nice roasted look on the outside.  They don’t have to cook completely.  You’re going to finish them in the oven.  As the potatoes fry to a nice brown, set them in the baking dish.


When all are nicely browned, put the baking dish in the pre-heated, 400ºF oven.  30 minutes should be enough to finish the cooking job.

As the potatoes bake, make the buttered breadcrumbs.

Breadcrumbs:

I make my own and here’s how.  Crumble enough stale baguette pieces in your food processor to make 2.5 cups.  If you don’t have a stale baguette, use any stale bread, or use fresh bread slices and either bake them, or leave them out overnight.  I detest the prepared breadcrumbs that come in a can, part of a long list of things I detest!

Put the butter in a skillet, let it melt and add the breadcrumbs.  Mix well.  Doesn’t matter if the breadcrumbs brown or not, but you want them all buttery.

Putting it all together:


Pull the baked potatoes from the oven, sprinkle over-generously with the buttered breadcrumbs.  Salt and pepper to taste. Scatter the Parmesan cheese and put the baking dish back in the oven.  Bake until the breadcrumbs are a toasty brown, about 5 to 10 minutes.  Watch that oven like a hungry hawk!

Remove the dish from the oven and sprinkle on the chopped cilantro.

Voilá!  Small potatoes have just become a big, scrumptious, crowd-pleasing part of your fantastic culinary repertoire!


Now, go ambush the wife.


Thursday, July 19, 2012

Wheat and Whatnot


Germany is the eighth largest producer of wheat.  Top three?  China, by a big margin, then India, then the land of “amber waves of grain.”  Germany grows enough to feed a population that eats 192 pounds of bread per person, per annum.  That doesn’t even count the pasta, cakes, pastries, and beer.  Yes, they brew vast quantities of Weißbier, or wheat beer.  It’s a so-called sour beer, although it tastes plenty sweet to me.  Another thing about wheat beer is that by German law it’s a top-fermented beer.  For my money, that means less fizz and more flavor.  Lots of varieties of wheat beer, which also uses barley in the brewing mix.  I had a lovely dark wheat beer last night at the local bier stube.

But, back to wheat.  There are great fields of it in this part of Germany and one is right outside my door.  German wheat is of the hard winter wheat variety.  What’s that mean?  Winter wheat is planted in late September through October and not harvested until late July, or August. Winter wheat needs vernalization (cold temperatures), where spring wheat does not.  It sprouts, then goes dormant, then resumes it’s growth in the spring.  Remember, I said 'hard' winter wheat.  The term ‘hard’ comes from the firmness of the kernel.

Any differences between winter and summer wheat?  Plenty, but the thing to remember is that winter wheat has more protein (at least 12%) and more gluten.  High gluten is best for bread baking. 

I’ve often wondered, as I sit on my porch, overlooking my garden and the field of wheat beyond, What does it all mean?  All-purpose flour.  Cake flour.  Organic flour.  Whole wheat flour.  Cauliflower.   Nope, scratch that last one, it’s in the cabbage family.

All-purpose flour is usually a mix of spring and winter wheat flours (hard and soft), meaning less gluten and less protein.  Cake flour is a low protein (6-8%) flour made from soft winter wheat.  Organic is supposed to mean free of chemicals.  Whether that is true or not depends on the manufacturer.  I have some Organic Gold Medal All-purpose flour.  On the side panel it says it’s made with certified organic wheat, but is also 'enriched' with a lot of vitamins and minerals.  Is that bad or good?  I haven’t the fainted idea.  Are they natural vitamins or are they derivatives from petroleum byproducts and toxic waste.  Don’t know.  All vitamins are not manufactured or collected in the same way.

White flour uses only the grain, with the bran, germ, and endosperm eliminated; bleaching seems to get rid more of the natural goodness.   Whole wheat has all of it, containing many natural vitamins.  The downside is, whole wheat doesn’t do a good job of rising without a lot of leavening agents.

Bleached or unbleached?  Why bleach at all?  Makes the flour white. That's it.   In the good old days, bleaching meant the flour was out in the sun for awhile. With the advent of the industrial age and mass production and distribution, bleaching came to be done with chemicals, usually chorine.  Recently, unbleached flours have gained favor.  I use them.

Lots of information.  What are some bottom lines?  I try my best to buy organic, unbleached, and unadulterated flour.  If you live near a co-op, or a well-stocked health food store, ask them about their flours.  Otherwise, I’ll mention two brands, with their web sites: http://www.kingarthurflour.com  and http://www.hodgsonmill.com .

For American breads, I offer two bits of advice:  the first is, Read the label!, and the second, bake your own bread!  After reading the labels, you may die of fright, or you may reevaluate whether you’re truly allergic to the gluten in flour, or to the chemistry set that’s tucked inside your store bought bread, favorite cake mix, or box of industrial strength cookies.

Meanwhile, I’m going to sit on my patio, overlooking a field of grain, and enjoy another Weißbier, made with hard winter wheat and brewed to the highest German standards of purity.


Sunday, July 8, 2012

Reasons for Raisin Bread

Ready for butter

Really not quite this yellow, but you get the idea

Stiff dough not yet greased

After the second rising.  Oven ready!


It’s a rainy Sunday morning and my wife is at church.  I’m left to my own vices…I mean devices.  Too early for even a small glass of beer.  Too early to chase some sweet young thing, and besides, I’m married and my knees aren’t what they used to be.

Watching TV on Sunday morning is for sissies. Already read a novel for a couple of hours, sipped my coffee and did a Sudoku.  My sons will soon arrive home after a weekend of debauchery at a squalid rock concert.   That’s not envy you hear in my voice.  I swear it’s not.

Perhaps a winding, forest drive to a log rolling fest?  There’s one nearby that proposes to show how they did it in the old days.  Did logs float differently back when men were men and winked at each other when someone suggested ‘log rolling?’  Probably not, but Germans will grab any sliver of opportunity to drink bier and eat wurst.  My kinda guys.

I think I’ll make some raisin bread.  Why make it when you can buy it?  The nearby German bäckerei usually does a superb job on breads, but their raisin bread is a little thin on raisins.  I don’t know why. Maybe a stiff tax on dried fruit. In any case, there’s a reason raisin is in the singular. Or, I could go to a grocery and buy tasteless ‘air bread,’ with the odd raisin included as an afterthought.

No.  None of that.  I want bread that slices in thick slabs and holds more butter than a dairy churn.  I want raisin bread that looks like an anthill when you cut it open.  I want the fresh bread aroma that permeates every pore and makes a man forget about sex for three or even four minutes.  Well, possibly four.

Also, when my sons eventually run out of money and beer and come home I want them to see not only my beautiful loaf of raisin bread, but what life is like after they’re married, de-clawed, and domesticated.

Raisin Bread


1 package active dry yeast
1/4 cup warm water (110-115ºF or 43-46ºC)
1 1/2 cups raisins (I use golden raisins, but whichever you use, make sure they’re not dry and hard)
1/3 cup soft butter
1/4 cup sugar (more if you want a sweet version, in which case consider also adding cinnamon)
1 1/2 teaspoons kosher salt (don't skimp or the bread will be bland)
1/2 cup scalded milk
3 3/4 cups all-purpose flour (approximately)
2 eggs, smashed and badly beaten

Preparation:

Dissolve the yeast in warm water, with a pinch or two of sugar added. In a few moments the yeast will ‘proof,’ or bubble up.  (see photo)

In a large bowl, combine raisins, butter, sugar, salt, and hot milk; stir to dissolve the sugar. Let mixture cool to lukewarm. Stir in 1 1/2 cups of the flour; beat well. I use a hand beater.

Add the yeast mixture and the beaten eggs; blend well.

At this point, use your hands to mix and knead. Add a cup of the remaining flour to make a soft, but stiff dough.   Add additional flour as needed to make your dough stiff, probably half a cup.  At this point you should have about a quarter of a cup of flour left.

Knead the dough in the large bowl for about 10 minutes, until the dough is smooth and elastic. Dust with the remainder of the flour as needed to keep the dough elastic and not sticky.

Leave the dough in the bowl.  Drizzle some vegetable oil over it, turning to grease the whole surface. The dough should look wet, but not be overly greasy.

Put the greased dough in a gallon-sized plastic bag.  Close it, but leave an inch long opening for gas to escape. Let stand in a warm place until doubled in bulk, about 1 1/2 hours.  I put mine in a cold oven, leaving the oven light on.

When the dough has risen, punch it down and shape into a loaf; place in a greased 8x4x3-inch loaf pan. Put it back in the cold oven and let it rise again for about 45 to 60 minutes, until almost double.

Bake at 375° for 25 minutes, placing foil over loaf the last 10 minutes, if the loaf is getting too brown on top.  Every oven is different.  If yours, like mine, is hotter on the top rack, bake this bread on the bottom rack to keep it from drying out, or decrease the cooking time by five minutes.

Remove loaf from the pan and let it cool on a rack.

Slice to your preference and slather on the butter.

If your sons are getting home soon, eat your fill before they get back.


Wednesday, April 25, 2012

No Stir, That's My Cobbler


Just pour the batter into the butter, then add the blueberries.


Cobblers, laced with fruit, and crusty with risen dough, are some of my favorite desserts. Among these, blueberry cobbler sits at the top.  Sweet and bursting with plump berries…, my taste buds are doing back flips just thinking about it.

A little bit about blueberries.  The blueberry bush is a native-American plant.  Didn’t reach Europe until the 1930’s.  But now it seems, blueberries are noted for desserts and jams all over the globe.  German grocery shelves are filled with a selection of blueberry jams.  Also, the health industry lauds blueberries for their dietary benefits.  I’ll leave more of that to you and Google.

Most U.S. commercially grown blueberries come from Maine, but even when I lived in the southern U.S., there were pick-your-own blueberry farms.  Great fun and far less expensive than buying them in a store.  Our family used to pick enough to freeze bags of them, which I found out, doesn’t hurt the color, flavor, or round plumpness.

Let’s get to the recipe, which is soooooo simple, you’re going to have to control your urge to do more.  Read the whole recipe, including the notes, to ensure you get the dessert that will have your loved ones, or even your family raving for more.

One note of caution:  Make substitutions at your own risk.  If you throw together a gluten-free, artificially sweetened, non-butter cobbler, you’re on your own in a nasty and brutish culinary wilderness.  And, no one, not even your now-disgusted friends, are going to save you.

Blueberry Cobbler


Preheat oven to 350ºF (180ºC)

1 stick butter (114 gm)
1 Cup flour  (128 gm)
1 Cup sugar (200 gm)
2 teaspoons baking powder  (approx 11 gm)
1/2 teaspoon salt (3 gm)
1 Cup milk (.25 liters)
2 1/2 Cups fresh blueberries, or one 12 oz package of frozen blueberries (see baking note below) mixed with 1/4 cup sugar

Melt the butter in a medium sized, deep-sided baking dish that holds at least 6-8 Cups.

Mix the flour, sugar, baking powder, and salt together in a bowl.  Add the milk  to the dry ingredients and mix well to make a mildly thick, but liquid batter.

Pour the batter into the baking dish containing the melted butter.  DO NOT STIR, just pour it in. 

Pour in the sugared blueberries on top of the batter.  DO NOT STIR.

Bake at 350ºF (180ºC) for 1 hour.  Crust will rise to the top as the cobbler bakes.

Voilà!

Baking Notes:  1) If you are using frozen blueberries, increase the baking time to 1 hour and 15 minutes.  2) This is a very sweet and juicy dessert.  If you want it less sweet, do not mix sugar with the berries.  If you want it more cake-like, mix the batter using 3/4 cup of milk.

Besides the taste, why is this one of my favorite desserts to serve to guests?  You can put it together in a flash (before you serve the main course) and go back to your guests while it bakes.  Using only two mixing bowls and one stirring spoon (only for the batter!) it’s a very quick cleanup.  I often serve it with vanilla ice cream, for a hot/cold combination that’s a wonderful dessert choice year around.

Monday, March 26, 2012

Apple Cake from the Lone Star State

Ready for coffee or a big glass of milk
Dough is stiffer than you're used to

Heaven in a bunt pan


Don’t get me wrong.  I’m all for healthy eating, as long as its done in moderation.  But, sometimes ya just gotta push those lily-livered, calorie countering, conscience messing, whiners away from your table.  Let ‘em take their guilt-troubled egos to the dry salad and celery stalk rabbit hutch, while you push your ponderous gut forward and gulp with all the gusto of a starving hog at the trough.

I’m talking fresh apple cake!  And plenty of it!  That’s the ticket.

What the hey!  Do apples even grow in Texas?  Hells, bells, ye of little faith and paucity of knowledge.  Pomaceous fruit grow all over the Lone Star State, although Texas can’t compete with Washington State, which produces 60% of the apples in the U.S.

For this particular apple cake, and generally for cooking with apples, the rule of my thumb is:  the more tart the better.  Tart apples have an intense flavor that overpowers their sweeter kin.  How many varieties of apple are there, anyway?  About 6000, counting hybrids and a few thousand non-commercial types.  Did you know apples are a member of the rose family?  I didn’t pick up on that in 9th grade biology either.

Let’s get on to some cookin’ and then on to some eatin’!

2 Cups Sugar
1 1/2 Cups vegetable oil
2 Tablespoons vanilla
2 eggs, well beaten
1/2 a lemon
3 Cups all-purpose flour
1 1/2 teaspoons aluminum free baking soda
3 Green Apples, peeled, cored, and chopped

Heat the oven to 325ºF, or 165ºC

Oil and flour a bundt pan.

Put the sugar, oil, vanilla, and beaten eggs in a bowl and beat well.  Squeeze the lemon juice into the mix and beat again.

Ditch the electric beater and use a big wooden spoon to stir the flour mix into the bowl of sugar/oil. The dough will be stiff, but not to worry.  Now add the chopped apples and stir well.

Put the dough into the bundt pan and pop it in the oven.  Bake for 1 1/4 to 1 1/2 hours.  When a knife comes out clean, the cake is ready.  Slip a knife around the inside of the pan, and then let the cake rest for about ten minutes.  Now invert the pan on a plate and the cake will come out cleanly.  The aroma is going to tantalize your nostrils and take your kitchen back to grandma’s glory days!

Time to brew some coffee, slice some cake and lock the door to keep out the nosey neighbors and those suddenly hungry health addicts who just raced back from the rabbit hutch.